Walking in Penrith and beyond
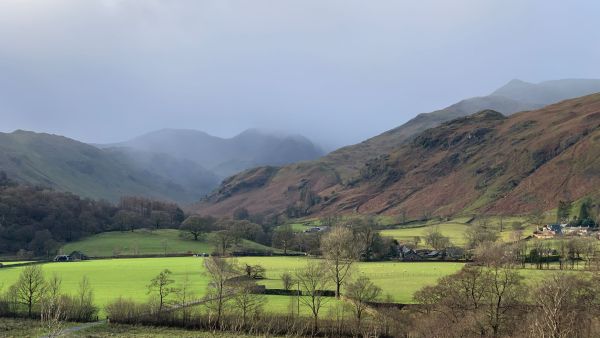
Penrith is centrally located to provide a wide range of walks in the Lakeland hills, the Howgills, the Eden Valley and the North Pennines, and we even venture into the Yorkshire Dales and Scotland at times.
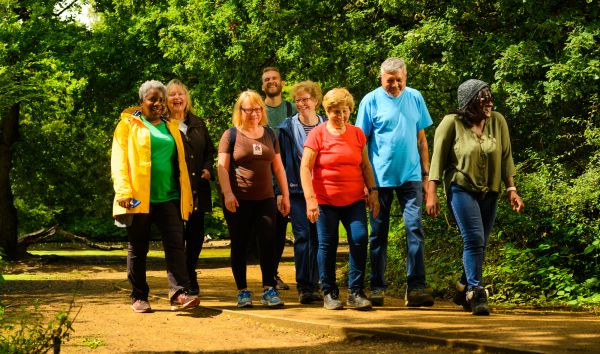
We are a friendly and welcoming group that has seen many new members join us during lockdown. We provide walks for a wide range of abilities each week, including low level woodland and lakeside walks as well as mountain walking.
 Our walks
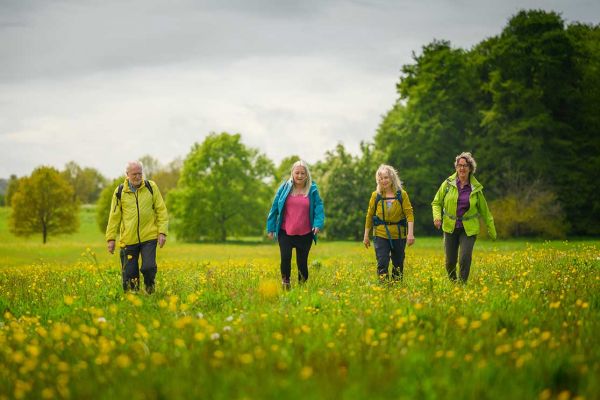
We offer a wide range of walks from very easy (3 miles on level paths) to very strenuous mountain walks (15+miles with 4,000ft of ascent) and in a wide range of countryside, including mountains, lakes, woods, rivers, fields and parkland.
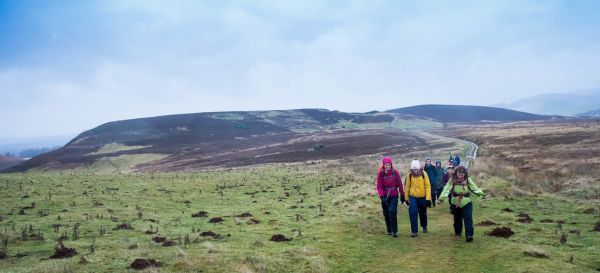
We are in the process of increasing the numbers of walks we provide and now have three or four walks every Wednesday, offering different types of walk. There are walks on most Saturdays, there are moderate to strenuous walks at a brisker pace on alternate Saturdays and moderate walks at a leisurely pace on the other Saturdays.
We welcome non-members of Ramblers to join us on our walks. Choose one or two walks that you would like to try. Follow the instructions given in the walk description but if you require further information, phone the walk leader. If you wish to continue with Ramblers, you will be approached to join Ramblers.
Please arrive at the meeting point at least 5 mins and preferably 10 mins before the time specified. Contact the leader if you wish to go directly to the start of the walk or if you have never walked with us previously..